Even in the digital age of online banking and instant transfers, knowing how to write a check remains an essential financial skill. Whether you’re paying rent, donating to a charity, or giving a wedding gift, understanding how to properly fill out a check ensures your payment is valid, secure, and professional.
This complete guide walks you through each section of a check — from writing the date and amount to signing your name correctly. By the end, you’ll know exactly how to write, endorse, and record a check confidently, without making costly mistakes.
🧾 Understanding the Parts of a Check
Before you learn how to fill out a check, it’s important to understand the sections printed on it. Every check has key parts that ensure it’s processed correctly by the bank.
Here are the main components:
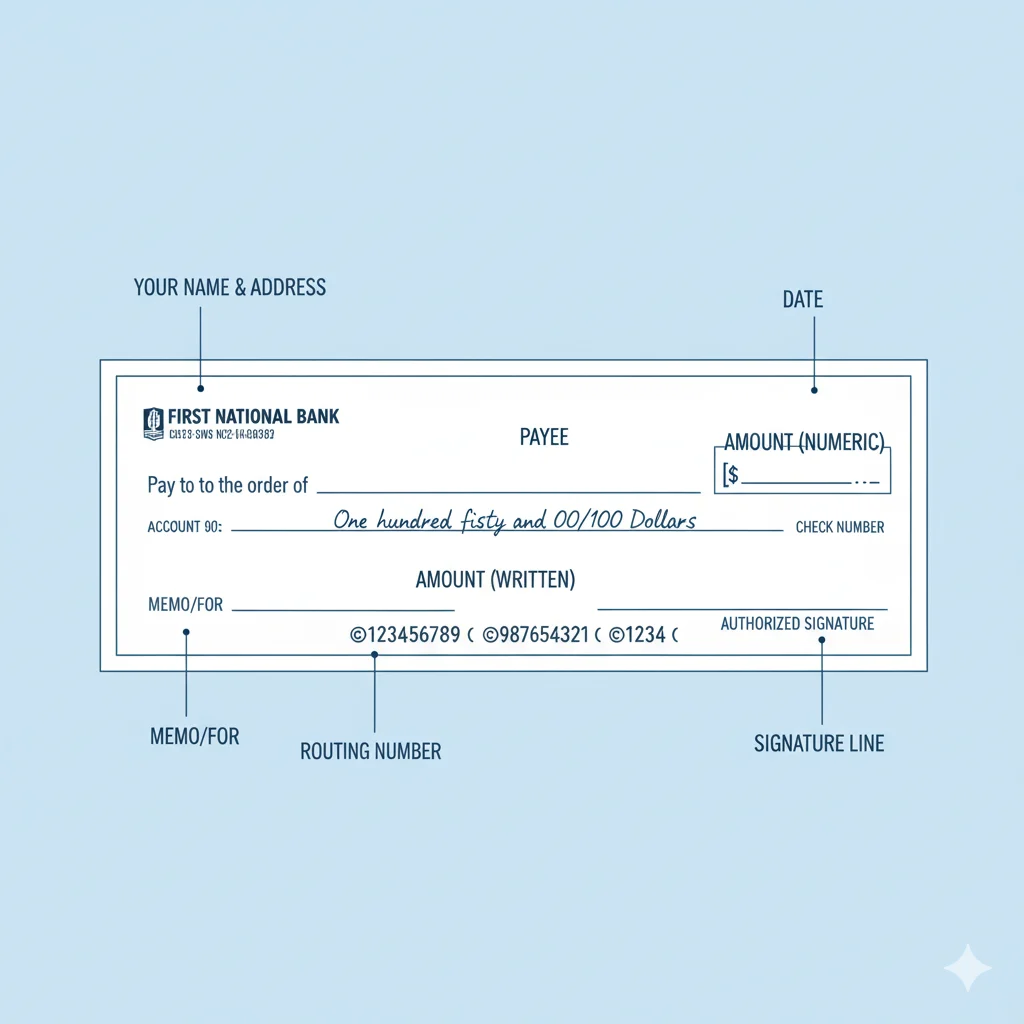
- Date Line: Where you write today’s date or a postdate.
- Payee Line: Where you write the name of the person or company receiving the money.
- Amount Box: Where you write the payment amount in numbers.
- Amount Line (in Words): Where you write the same amount in words for confirmation.
- Memo Line: An optional section to note the purpose (e.g., “June rent” or “Gift”).
- Signature Line: Where you sign your name to authorize the payment.
- Routing & Account Numbers: Printed at the bottom; they identify your bank and account.
Knowing each part ensures your check is clear, complete, and legally valid.
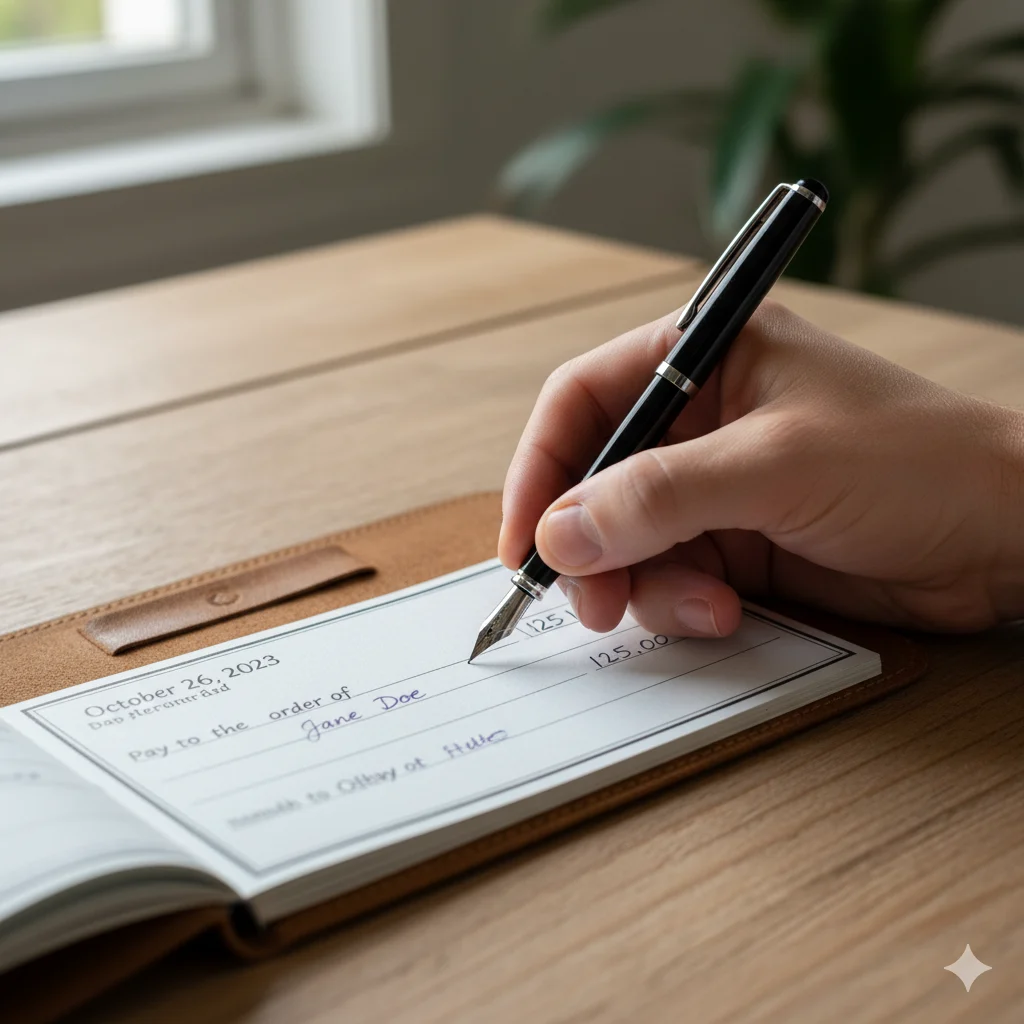
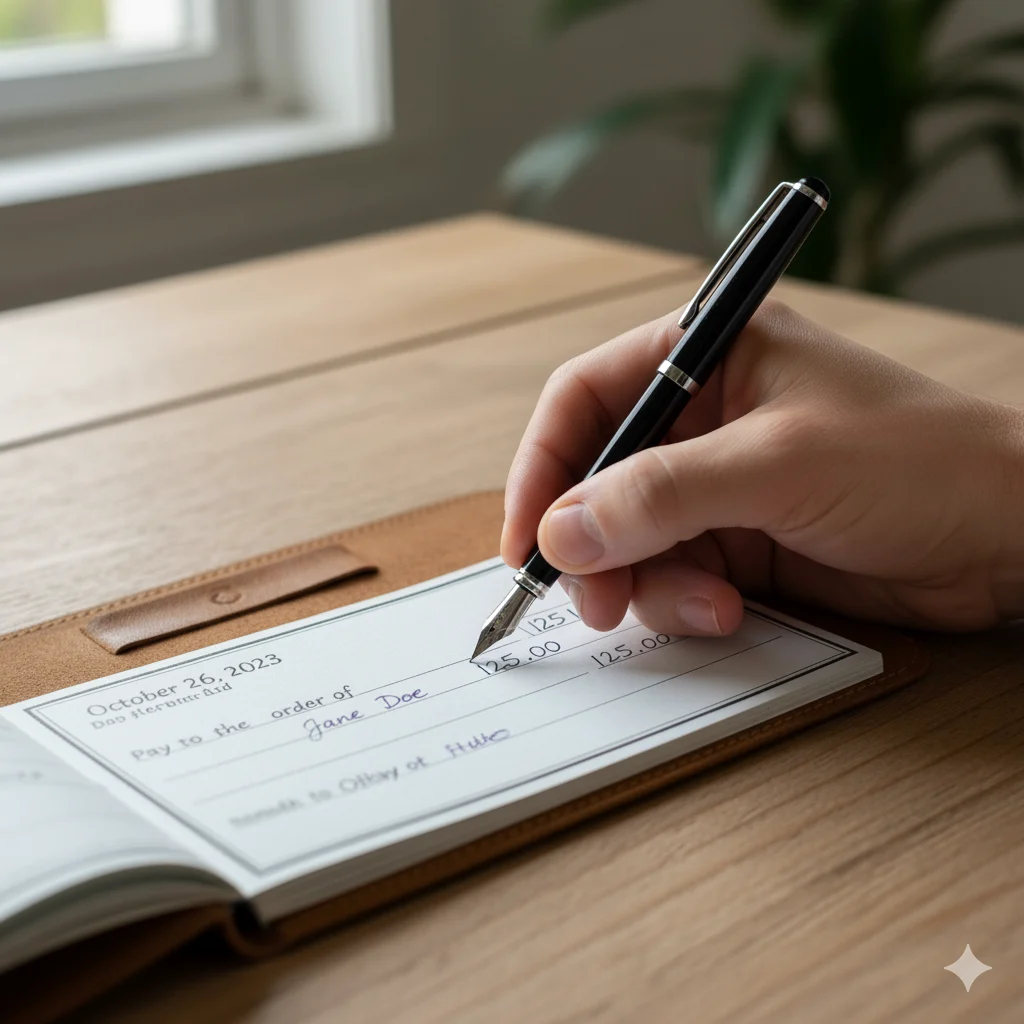
✍️ Step 1: Write the Date
Begin at the top right corner of your check. Write the current date (e.g., “October 19, 2025”) in the date line. You can also postdate a check if you want it to be cashed later.
💡 Tip: Always use the full date format — this prevents confusion and ensures accurate record-keeping.
💵 Step 2: Write the Payee’s Name
On the line that says “Pay to the Order of,” write the name of the person or business you’re paying.
✅ Correct: Pay to the Order of John Smith
🚫 Incorrect: Pay to the Order of Cash (unless you want anyone to be able to cash it).
💡 Tip: Always double-check spelling. Banks may reject or delay checks if the name doesn’t match the account.
💰 Step 3: Write the Amount in Numbers
In the box next to the payee’s name, write the amount in digits (e.g., $125.50). Always start the numbers as close to the dollar sign as possible to prevent anyone from adding extra digits.
💡 Example:
If the amount is one hundred twenty-five dollars and fifty cents, write:
$125.50
🖋️ Step 4: Write the Amount in Words
On the next line, write the same amount in words. This serves as the legal confirmation of your payment amount. If the written and numerical amounts don’t match, banks rely on the written amount.
💡 Example:
If you wrote $125.50 in the number box, write:
One hundred twenty-five and 50/100 dollars
Use “and” between dollars and cents, and fill empty space with a line (———) to prevent tampering.
🧠 Step 5: Fill Out the Memo Line (Optional but Helpful)
The memo line (bottom left corner) is optional, but it’s useful for noting the purpose of your payment — like “Rent for October,” “Donation,” or “Invoice #2456.”
It helps both you and the recipient track what the payment was for, especially in business or recordkeeping situations.
🖊️ Step 6: Sign the Check
Your signature (bottom right corner) authorizes the check. Without it, the bank won’t process the payment.
💡 Tip: Use the same signature you used when opening your bank account to avoid any mismatches or delays.
💡 Step 7: Record the Payment
Always record each check you write in a checkbook register or digital tracker. Include:
- Check number
- Date
- Payee name
- Amount
- Purpose or notes
Recording helps you manage your balance, track spending, and prevent overdrafts or duplicate payments.
🏦 Step 8: Endorse the Check (for Deposits or Transfers)
If you receive a check, you must endorse it before depositing it into your account.
Flip the check over and sign on the endorsement line. Some people add “For deposit only” for extra security.
📋 Example of a Properly Filled Check
Imagine you’re paying your landlord for rent:
- Date: October 19, 2025
- Payee: Greenwood Apartments
- Amount (numbers): $950.00
- Amount (words): Nine hundred fifty and 00/100 dollars
- Memo: October Rent
- Signature: Your Signature
This is what a complete, professional check looks like — clear, accurate, and ready for processing.
🚫 Common Check Writing Mistakes to Avoid
Even a small error can cause your check to bounce or be rejected. Here are common mistakes and how to avoid them:

- Leaving blank spaces — Always fill lines completely to prevent fraud.
- Wrong date or payee — Double-check before signing.
- Mismatched amounts — Ensure the numeric and written amounts match exactly.
- Missing signature — A check without a signature is invalid.
- Using pencil or erasable ink — Always use permanent black or blue ink.
- Crossing out errors — Instead, void the check and start a new one.
Being careful with every detail keeps your checks secure and professional.
💳 When to Use a Check vs. Digital Payment
While mobile payments and online transfers are convenient, checks are still valuable for certain situations:
- Paying rent or tuition
- Mailing gifts or donations
- Business or professional payments
- When a digital option isn’t available
- Keeping physical payment records
Checks are often preferred by landlords, small businesses, and government offices for their traceability and formal documentation.
🔐 Safety Tips for Writing Checks
- Never leave signed blank checks.
- Avoid writing “Cash” unless absolutely necessary.
- Keep your checkbook in a secure place.
- Review your bank statements for any unusual activity.
- Shred voided or canceled checks.
- Write clearly — no overwriting or smudges.
Taking these precautions helps protect your finances from fraud or unauthorized use.
💼 How to Void a Check Properly
If you make a mistake or want to provide a voided check for direct deposit setup:
- Write VOID in large letters across the front of the check.
- Don’t sign or write amounts.
- Record the check number in your register as voided.
A voided check is safe for sharing account details without allowing payment.
🧮 Balancing Your Checkbook
Balancing your checkbook means ensuring your written checks match your bank balance.
- Record all deposits and withdrawals.
- Subtract all written checks from your total balance.
- Compare with your bank statement.
- Report any discrepancies immediately.
Doing this monthly keeps your finances accurate and avoids overdrafts.
📘 FAQs
1. Can I write a check with a pencil?
No. Always use permanent black or blue ink to prevent tampering.
2. What happens if I postdate a check?
Banks may still process it early. Only postdate if you’ve confirmed with your bank or recipient.
3. Can I write a check to myself?
Yes, it’s called a self-check — often used to withdraw cash from your own account.
4. What if I make a mistake on a check?
Write “VOID” and start over. Never cross out or erase mistakes.
5. Is writing a check safe?
Yes, as long as you write clearly, avoid blank spaces, and keep your checks secure.
6. How long is a check valid?
Most checks are valid for six months from the issue date.
7. Can I cancel a check after writing it?
Yes. Contact your bank to issue a stop payment order as soon as possible.
🧠 Conclusion
Writing a check may seem old-fashioned, but it remains one of the most secure and professional payment methods available. It helps track expenses, maintain records, and complete official transactions where digital methods may not work.
Whether you’re paying bills, sending gifts, or managing a small business, mastering how to write a check ensures confidence and credibility. Every properly written check reflects organization, trust, and financial awareness — essential traits in personal and professional life.
With practice, this simple skill becomes second nature — giving you one more way to manage your money safely and smartly.

Hi, I’m Jam Sun, the creator of Punspanda.com. I write fun, clever puns, jokes, and easy-to-read humor content designed to entertain, inform, and make people smile. My goal is simple: turn everyday words into share-worthy laughs.

