How to take a screenshot on Windows is an essential skill for anyone using a PC, whether you’re documenting an error, saving a receipt, or sharing a funny meme. Screenshots allow you to capture exactly what’s on your screen without needing extra software, making them perfect for work, school, or personal use. In this step-by-step guide, you’ll discover multiple methods using built-in tools and keyboard shortcuts, tailored for Windows 10 and 11. We’ll cover everything from basic captures to advanced snipping, plus troubleshooting and pro tips to make the process seamless. By the end, you’ll be snapping screenshots like a pro—let’s dive into the tutorial and get you started.
Step-by-Step Guide
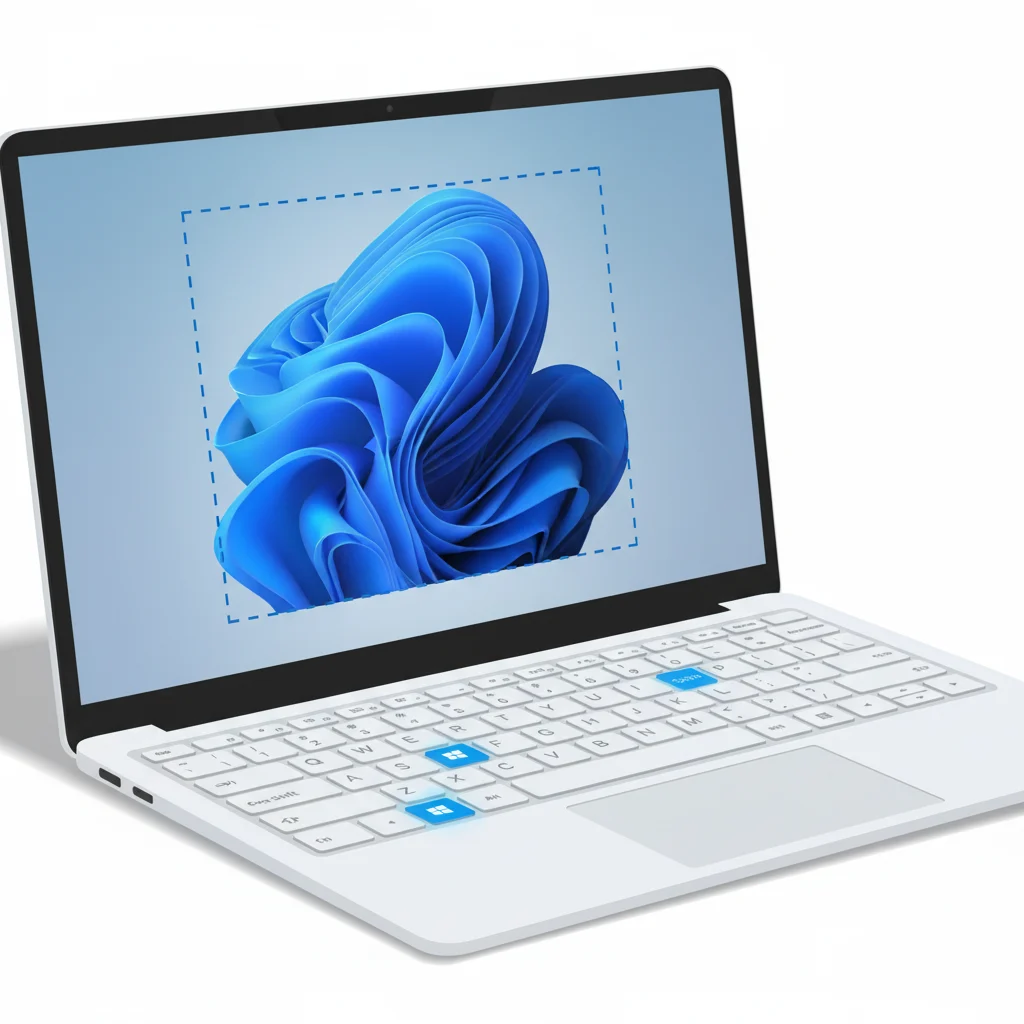
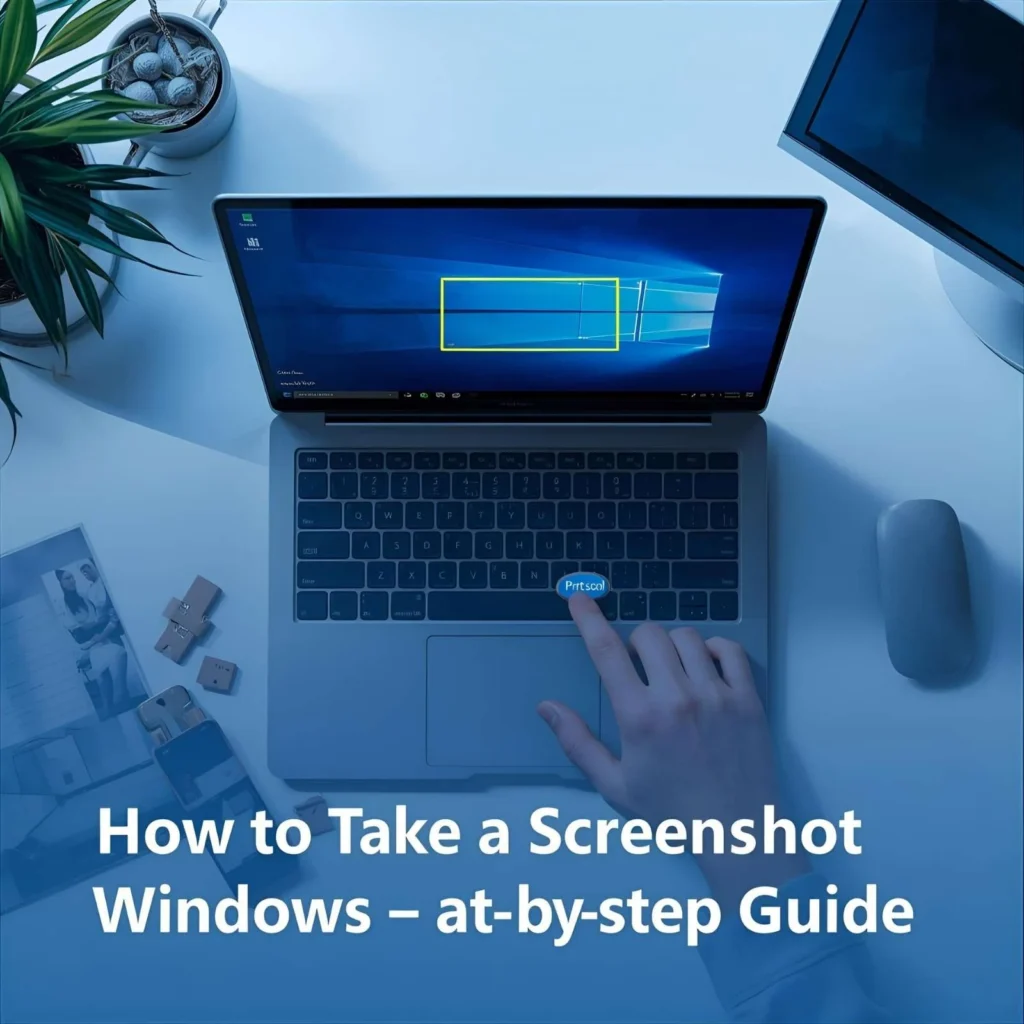
Step 1: Use the Print Screen (PrtScn) Key for a Full-Screen Capture
Locate the PrtScn key on your keyboard, usually in the top-right section. Press it once to copy the entire screen to your clipboard. This method is ideal for quick grabs when you don’t need to save immediately—simply open an app like Paint or Word, paste with Ctrl + V, and save the file. It’s straightforward and works on most Windows versions without any setup.
Step 2: Capture the Active Window with Alt + Print Screen
Focus on the window you want to screenshot by clicking it. Hold Alt and press PrtScn to copy just that window to the clipboard. This variation is great for multitasking, as it ignores everything else on your screen. Paste it into an image editor for further adjustments, saving time compared to cropping a full-screen shot later.
Step 3: Save a Screenshot Directly Using Windows Key + Print Screen
Press the Windows key + PrtScn simultaneously. Your screen will dim briefly, indicating the capture, and the image saves automatically to the Screenshots folder in Pictures. This shortcut is efficient for frequent users, as it skips the clipboard step and creates a PNG file ready for sharing. Check your file explorer to locate it quickly.
Step 4: Open and Use the Snipping Tool for Custom Areas
Search for “Snipping Tool” in the Start menu and launch it. Click New, then drag your cursor to select a rectangular area, free-form shape, window, or full screen. Once captured, you can annotate or save directly from the tool. This method offers flexibility for precise screenshots, especially useful for highlighting specific parts of a webpage or app.
Step 5: Utilize Snip & Sketch or the Updated Snipping Tool in Windows 11
Press Windows + Shift + S to activate Snip & Sketch (or the modern Snipping Tool). Choose your snip type from the overlay menu—rectangular, freeform, window, or full screen—and capture. The screenshot copies to your clipboard and notifies you for editing in a pop-up window. This is a modern upgrade, providing quick edits like cropping or drawing without opening another app.
Step 6: Take Screenshots with the Xbox Game Bar
Press Windows + G to open the Game Bar overlay. Click the camera icon in the Capture widget or use Windows + Alt + PrtScn for a quick shot. Screenshots save to the Videos > Captures folder as PNG files. Originally for gamers, this tool works system-wide and is handy for capturing during videos or apps that block other methods.
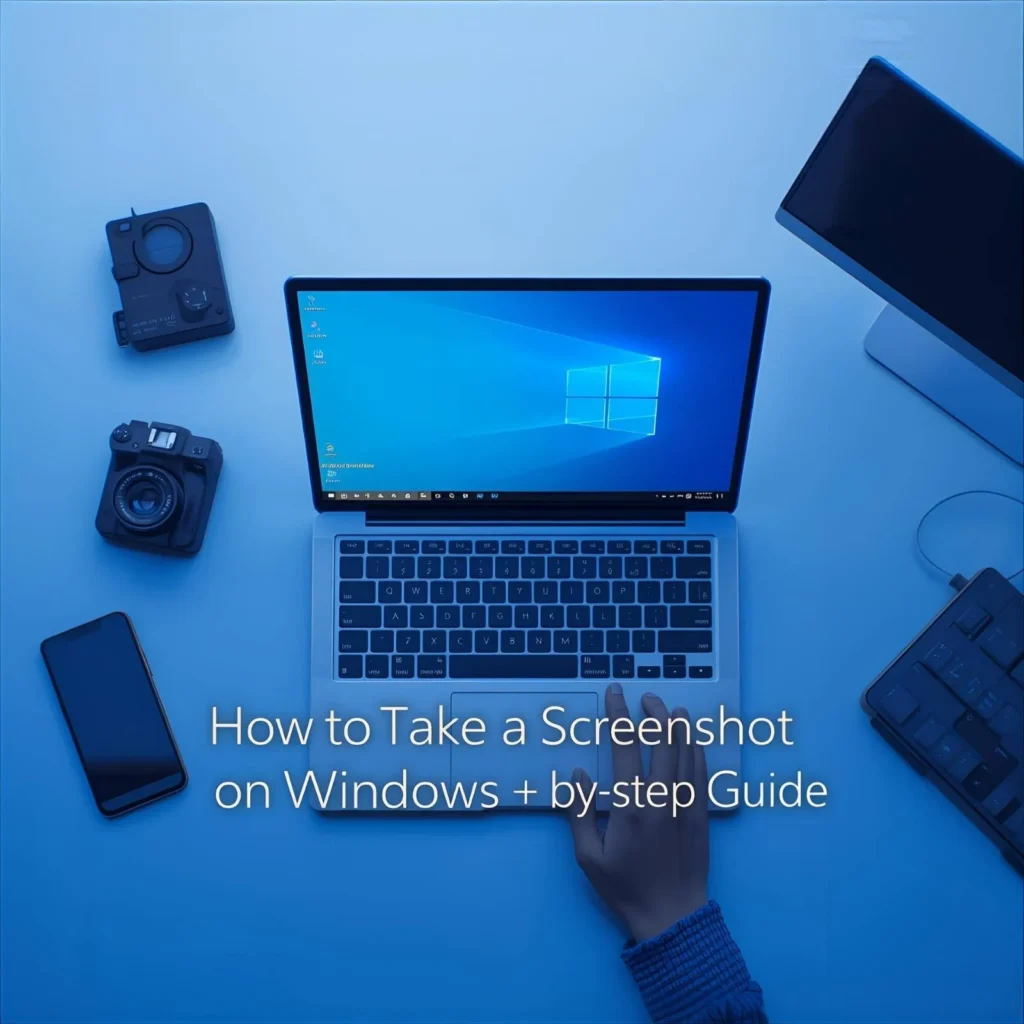
Visual Guide: See How It’s Done
For a clearer understanding, imagine a keyboard layout highlighting the PrtScn, Alt, and Windows keys in red. A simple infographic could summarize the steps: icons for each shortcut next to bullet-point descriptions. Alternatively, picture a GIF showing the screen dimming during Windows + PrtScn, followed by the file appearing in the Pictures folder. These visuals reinforce the actions without overwhelming the text.
Pro Tips to Take Screenshots Faster and Better
- Master keyboard shortcuts: Combine methods like Windows + Shift + S for on-the-fly snips, reducing steps for daily use.
- Edit on the spot: After capturing with Snip & Sketch, use built-in tools to add arrows, text, or highlights before saving.
- Organize your saves: Create subfolders in Pictures > Screenshots to categorize captures by project or date for easy retrieval.
- Use delayed snips: In the Snipping Tool, set a 3- or 10-second delay to capture menus or tooltips that disappear quickly.
- Opt for PNG format: Stick with default PNG for clarity, but switch to JPG in editors if file size matters for emailing.
- Avoid common pitfalls: Always check clipboard contents before overwriting with a new screenshot to prevent losing work.
Troubleshooting: When Things Don’t Work as Expected
- Issue: Print Screen key not responding → Fix: Ensure the Function (Fn) key isn’t locked on laptops; toggle it or check keyboard settings in Control Panel.
- Issue: Screenshots not saving automatically → Fix: Verify your Pictures folder permissions or run the Snipping Tool as administrator; restart your PC if needed.
- Issue: Blurry or low-quality captures → Fix: Adjust display scaling in Settings > System > Display to 100% before screenshotting.
- Issue: Game Bar not appearing → Fix: Enable it in Settings > Gaming > Xbox Game Bar, and ensure your graphics drivers are up to date.
- Issue: Clipboard paste failing → Fix: Clear the clipboard history via Windows + V, or use a third-party clipboard manager for reliability.
Conclusion
Mastering how to take a screenshot on Windows boils down to choosing the right shortcut or tool for your needs—from basic PrtScn for full screens to Snip & Sketch for custom edits. With these methods, you can capture, save, and share content effortlessly on Windows 10 or 11. Practice a few times, and it’ll become second nature. Start experimenting today to boost your productivity—whether for work reports or personal archives, screenshots make communication clearer and faster.
FAQ
Where do screenshots go on Windows?
Screenshots taken with Windows + PrtScn save automatically to the Pictures > Screenshots folder as PNG files. For clipboard methods like PrtScn alone, paste into an app like Paint to save manually. Use File Explorer to search or pin the folder for quick access.
How do I take a screenshot without the Print Screen button?
Use Windows + Shift + S to open Snip & Sketch for custom captures. Alternatively, launch the Snipping Tool from the Start menu. These built-in options work on keyboards without PrtScn, like some compact laptops.
Can I take a screenshot on both Windows 10 and 11?
Yes, all methods like PrtScn, Alt + PrtScn, and Snipping Tool work on both versions. Windows 11 features an updated Snipping Tool with more intuitive interfaces, but the core shortcuts remain consistent for easy transitions.
How can I crop or edit a screenshot easily?
After capturing with Snip & Sketch, a notification pops up—click it to open the editor for cropping, drawing, or annotating. For basic edits, paste into Paint and use its tools; save changes as a new file to preserve originals.
What if my screenshot includes sensitive information?
Use the Snipping Tool’s freeform mode to capture only needed areas, avoiding extras. Post-capture, blur or crop sensitive parts in the built-in editor before sharing to maintain privacy.
How do I take a scrolling screenshot on Windows?
Built-in tools don’t support scrolling natively, but use the Snipping Tool for sections and stitch in an editor. For full pages, consider free extensions like those in Microsoft Edge’s Web Capture feature.

