A few years ago, I switched from a Windows laptop to a Chromebook for work. Everything felt simple—until the day I needed to take a screenshot. I searched every key on the keyboard for “Print Screen,” but it wasn’t there! After a bit of trial and error, I discovered just how easy and versatile it is to screenshot on a Chromebook.
If you’ve ever found yourself in the same spot—needing to capture an image of your screen but not knowing how—this guide is for you. Whether you’re a student, teacher, or professional, learning how to screenshot on Chromebook can make your life easier. From quick keyboard shortcuts to advanced tools, let’s explore all the methods step by step.
Using the Keyboard Shortcut for Full-Screen Screenshot
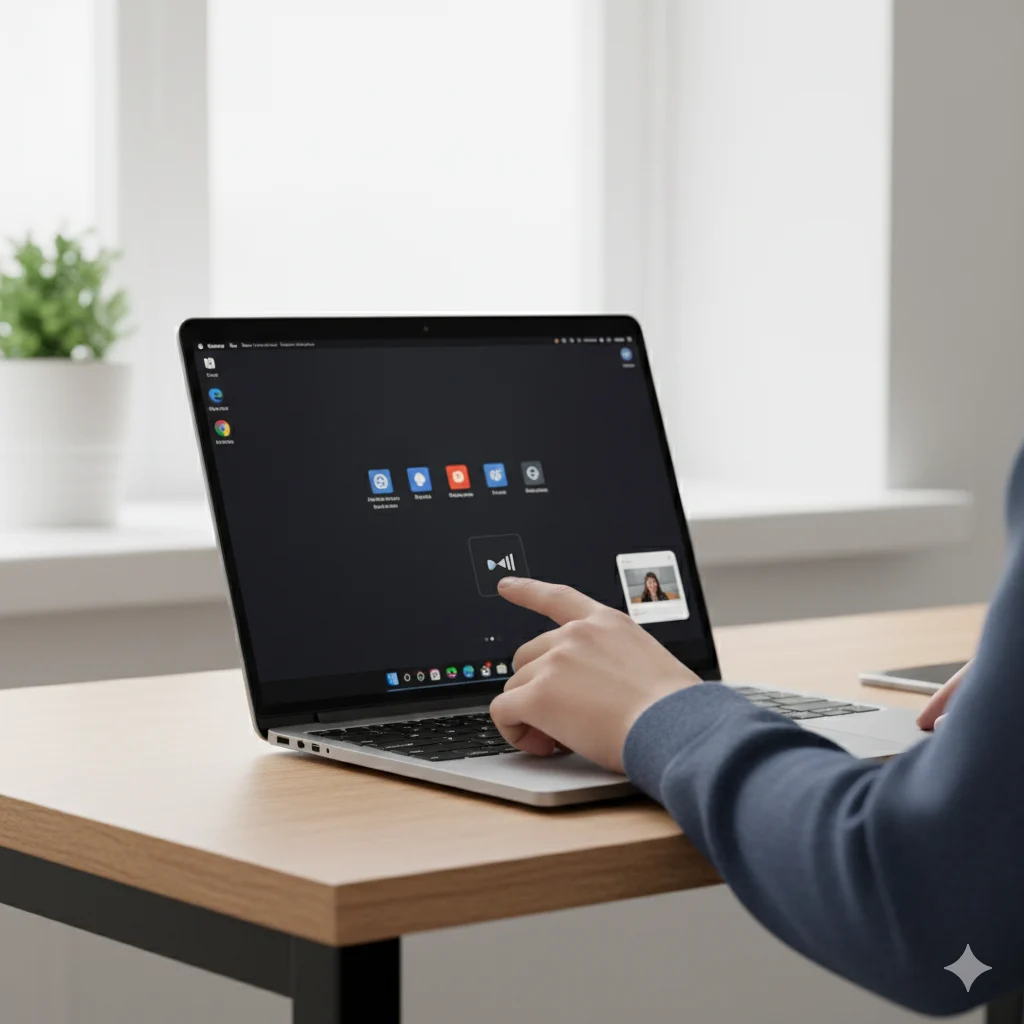
The easiest and fastest way to take a screenshot on Chromebook is by using a simple keyboard shortcut. Press Ctrl + Show Windows (the rectangle key with two lines) at the top row of your keyboard.
Your screen will flash for a second, and the image will be automatically saved in your Downloads folder.
💡 Tip: You can also access your saved screenshots from the “Files” app → “My Files” → “Downloads.”
This is the go-to method for capturing your entire screen in seconds—perfect for saving web pages, presentations, or images.
Capturing a Partial Screenshot

If you only want to capture part of your screen, use Ctrl + Shift + Show Windows. Your cursor will turn into a crosshair. Click and drag to select the exact area you want, and release to take the shot.
Chromebooks instantly save your selection, making this perfect for taking screenshots of specific data, cropped images, or confidential information.
This partial screenshot method gives you total control and saves time editing later.
Taking a Screenshot of a Single Window
When you have multiple windows open and only need to capture one, press Alt + Show Windows. The cursor changes into a camera icon — click the window you want to capture.
This method is ideal for capturing app windows like Google Docs, YouTube, or a browser tab without distractions from other windows.
How to Screenshot on Chromebook with the Screenshot Tool
Recent versions of ChromeOS introduced a built-in Screenshot Tool, a visual interface for taking screenshots and screen recordings.
To open it, press Shift + Ctrl + Show Windows, or click the clock in the bottom-right → select the Screen Capture icon.
You can choose between full-screen, window, or partial screenshots. It even lets you record your screen — great for tutorials or online classes.
This feature is especially helpful for users who prefer a visual tool rather than shortcuts.
Using the Stylus (For Convertible or Touchscreen Chromebooks)
If you’re using a Chromebook with a touchscreen or stylus, taking a screenshot is even easier.
- Tap the Stylus icon in the taskbar.
- Choose Capture Screen to take a full-screen shot, or Capture Region to select part of the screen.
This is the most convenient option for artists, teachers, and students who use their Chromebook in tablet mode.
How to Screenshot on Chromebook Tablets
In tablet mode, Chromebooks act just like Android tablets. Simply press Power + Volume Down together.
Your screen will briefly flash, and the image will save automatically to your Downloads folder.
This method is perfect for Chromebook tablets like Lenovo Duet or HP x360, especially when using touch only.
Saving and Finding Your Screenshots

All your screenshots automatically save to the Downloads folder, but you can also move them to Google Drive for easy cloud access.
To find them quickly:
- Press Alt + Shift + M to open the Files app.
- Navigate to Downloads or Images.
Rename your screenshots for better organization — like “meeting_notes.png” or “invoice_Jan24.png.”
This helps you keep track of everything, especially if you take screenshots frequently.
Editing Screenshots on Chromebook
Once you’ve taken a screenshot, double-click it to open the built-in image editor. From there, you can crop, rotate, adjust brightness, or add annotations.
If you need more options, use apps like Canva, Pixlr, or Photopea (all available in the Chrome Web Store).
These tools make it easy to highlight important details or blur sensitive information before sharing your image.
Real-Life Scenarios Where Screenshots Help
Example 1: Online Learning
Sara, a student, uses Ctrl + Show Windows to capture her teacher’s slides for review later.
Example 2: Work Collaboration
Ali, working remotely, takes a partial screenshot of an error message and sends it to IT for troubleshooting.
Example 3: Online Shopping Proof
Fatima uses the Screenshot Tool to save payment confirmations from her Chromebook before closing checkout pages.
Screenshots aren’t just for fun—they’re essential for work, school, and everyday digital life.
Common Screenshot Problems and Fixes
Problem: Nothing happens when you press the shortcut.
Fix: Make sure your keyboard isn’t locked in tablet mode. Restart your Chromebook if needed.
Problem: Screenshot not saving.
Fix: Check storage space in your Downloads folder or save directly to Google Drive.
Problem: Can’t find the Show Windows key.
Fix: It’s usually above the number 6 key — looks like a rectangle with two lines.
With these quick fixes, you’ll never get stuck again while taking a screenshot.
FAQs
1. Where are screenshots saved on Chromebook?
They’re saved automatically in the Downloads folder. You can move them to Google Drive for cloud storage.
2. Can I change the screenshot save location?
Yes, open the Screenshot Tool, click the gear icon, and select a new folder for saving.
3. How do I copy a screenshot to clipboard instead of saving it?
Press Ctrl + Shift + Show Windows, then click your desired area. The screenshot is copied to your clipboard automatically.
4. Can I record my screen on Chromebook?
Yes! Use the built-in Screen Capture tool and choose the video icon to record instead of capture.
5. Are there any Chrome extensions for screenshots?
Yes, tools like Awesome Screenshot and Nimbus Capture allow advanced editing and scrolling screenshots.
Conclusion
Learning how to screenshot on Chromebook is one of the simplest yet most powerful digital skills you can master. Whether you’re saving study materials, recording meetings, or capturing funny moments online, screenshots help you preserve and share information instantly.
From quick shortcuts like Ctrl + Show Windows to advanced tools like Screen Capture or third-party apps, Chromebook gives you all the flexibility you need. So next time you see something worth saving, you’ll know exactly what to do — no confusion, no stress, just one quick screenshot away.

Hi, I’m Jam Sun, the creator of Punspanda.com. I write fun, clever puns, jokes, and easy-to-read humor content designed to entertain, inform, and make people smile. My goal is simple: turn everyday words into share-worthy laughs.
