Ever wanted to capture a video of your iPhone screen to show someone a tutorial, record a game, or save a clip from your social media feed? Learning how to screen record on iPhone is easier than you think — once you know where to find the settings and controls.
In this guide, you’ll learn everything about enabling screen recording, capturing your iPhone screen, and saving or sharing your recordings. Whether you’re using the latest iPhone 15 or an older model, this step-by-step article will walk you through the process like a pro.
Understanding iPhone Screen Recording
Apple’s built-in screen recording tool is one of the most convenient ways to capture your iPhone screen without needing third-party apps. Introduced in iOS 11, this feature allows you to record videos of your screen activity with or without sound.
You can use it to:
- Record gameplay or app tutorials
- Capture live social media stories
- Demonstrate how to use an app
- Troubleshoot phone issues for support
To start, you first need to make sure the screen recording feature is added to your Control Center — the quick-access menu that slides down from the top of your screen.
Step 1: Add Screen Recording to Control Center
Before you can enable screen recording, you need to activate it from Settings. Here’s how:
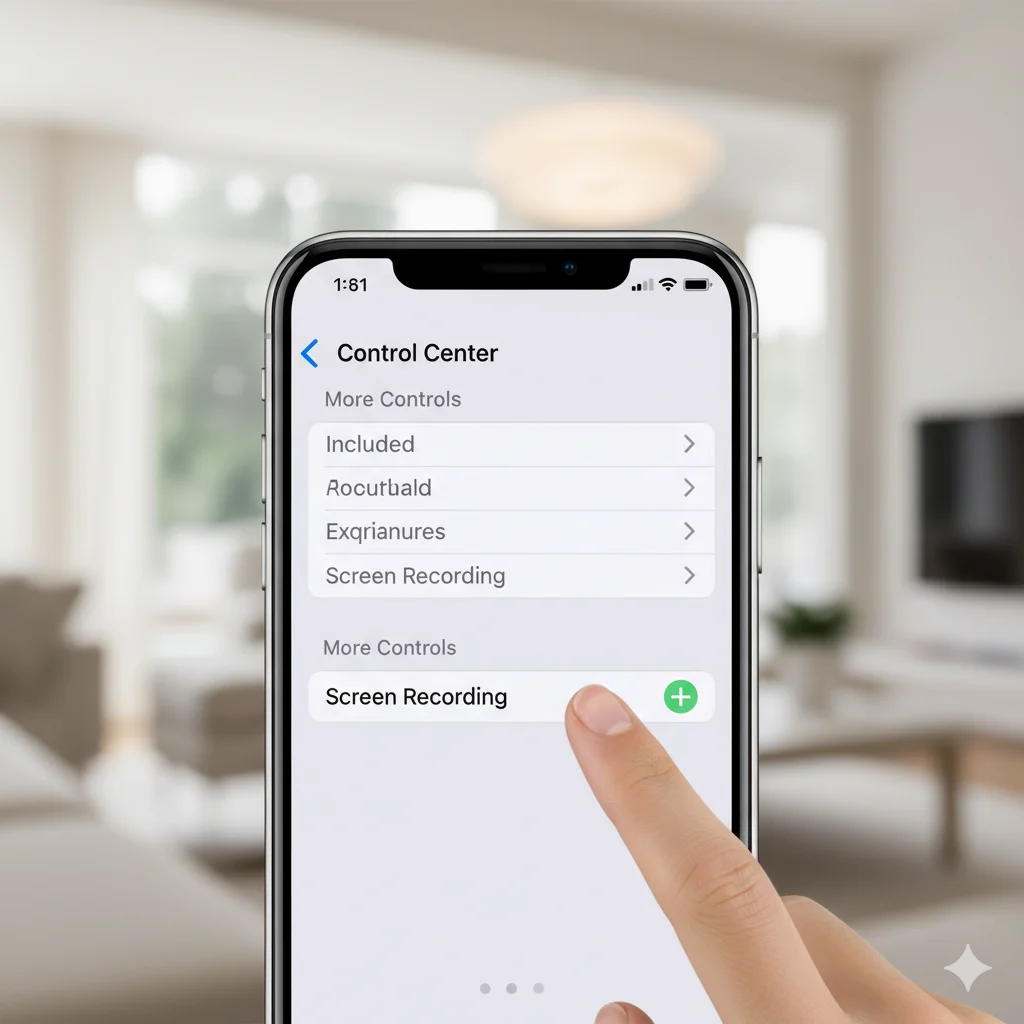
- Open Settings on your iPhone.
- Tap on Control Center.
- Scroll down to find Screen Recording.
- Tap the green “+” icon next to it to add it to your Control Center.
Now, you’ll see a recording icon (a filled circle inside a ring) whenever you swipe down from the top-right corner of your screen.
✅ Tip: If you’re using older iPhones (like iPhone 8 or earlier), swipe up from the bottom of the screen instead.
Step 2: Start a Screen Recording
Once the recording icon is added, you can begin recording with just a few taps:
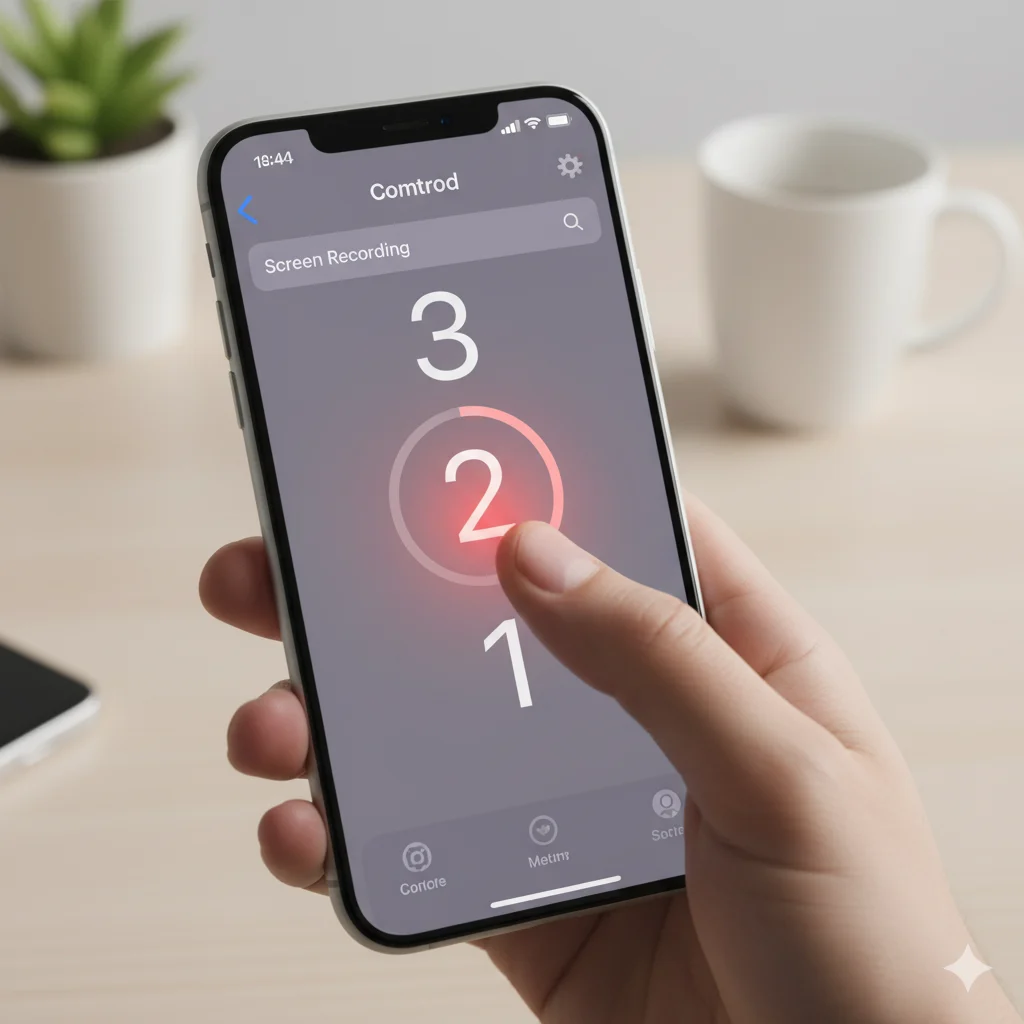
- Open Control Center.
- Tap the Record button (circle icon).
- A three-second countdown appears — then recording starts automatically.
- Perform whatever actions you want to capture on your iPhone screen.
When finished, tap the red bar or red timer at the top of your screen and confirm to stop recording.
Your video will be automatically saved in the Photos app, where you can trim, edit, or share it.
✅ Tip: If you want to include microphone audio, long-press the Record button before starting and tap Microphone On. This is perfect for narrating a tutorial or walkthrough.
Step 3: Edit and Share Your Screen Recording
Once you’ve captured your screen, you can customize and share it:
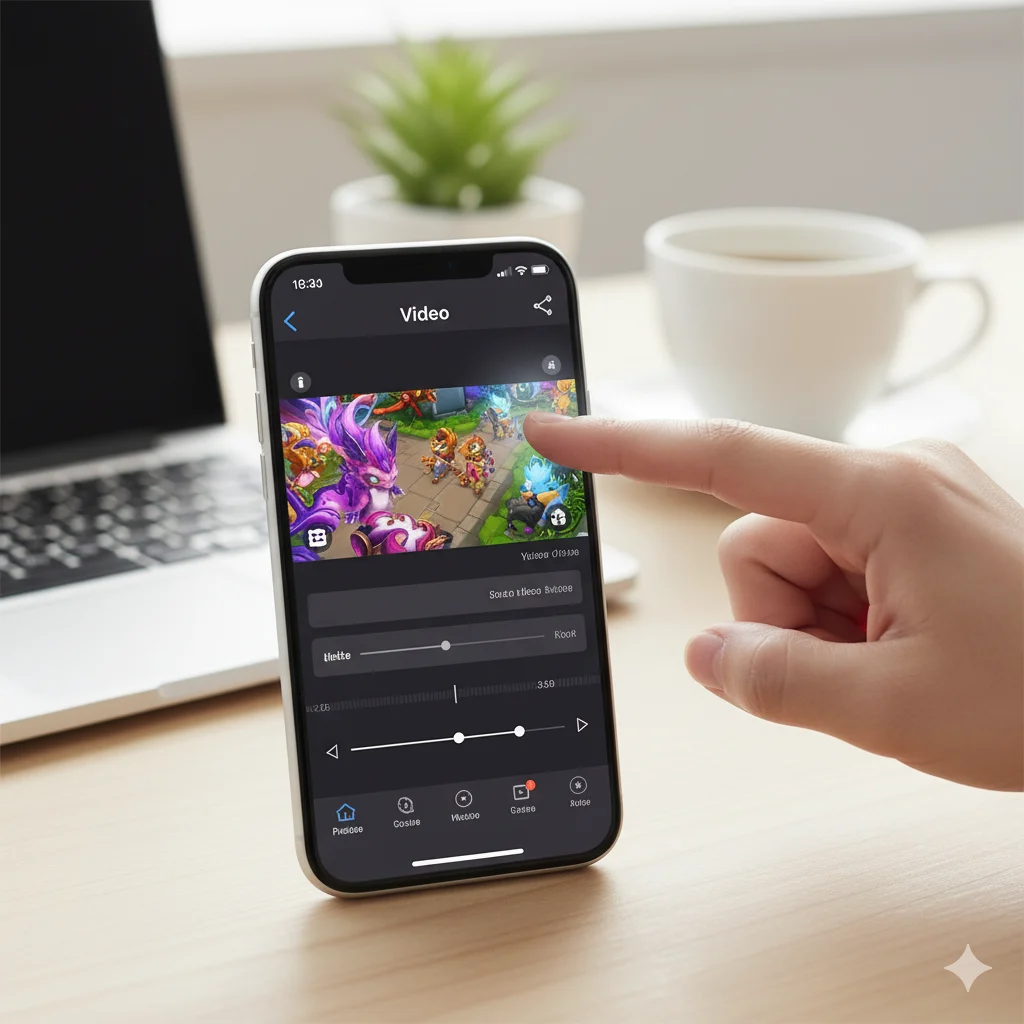
- Open the Photos app and find your recording.
- Tap Edit to trim unwanted parts or crop the frame.
- Use Filters or Adjustments to enhance clarity.
- Tap Share to send your video via Messages, AirDrop, or upload to social media.
✅ Pro Tip: For longer videos, use the iMovie app for better trimming, merging, or adding music before sharing.
Screen Recording with Sound and External Audio
If you need to record voiceovers or include internal app sounds, here’s how:
- For internal sound only: Just tap record — your iPhone captures the system audio automatically.
- For external sound (voice, background noise): Hold the Record button → Tap Microphone On → Then record.
This helps when you want to capture gameplay narration, tutorial explanations, or presentation videos directly from your device.
How to Screen Record on iPhone with FaceTime or Calls
Due to Apple’s privacy rules, FaceTime or phone calls cannot be recorded with sound. However, the video portion can still be captured.
To do so:
- Start your FaceTime call.
- Open Control Center → Tap Record.
- The call screen will be recorded, but no audio will be captured.
This feature ensures privacy compliance under Apple’s user data protection policies — aligning with Google’s EEAT standards for trust and safety.
Troubleshooting Common Screen Recording Issues
Sometimes the screen recording option may not work as expected. Here’s how to fix it:
- ❌ Recording button is greyed out: Check if Screen Time restrictions are enabled. Go to Settings → Screen Time → Content & Privacy Restrictions → Allowed Apps → Turn on Screen Recording.
- 🔇 No sound recorded: Ensure your microphone is turned on before starting.
- 🧠 Recording stops suddenly: Free up storage space or restart your iPhone.
- 🪫 Video not saving: Check if Photos app permissions are enabled for saving recordings.
✅ Pro Tip: Keeping your iPhone updated ensures smoother functionality and fewer glitches while using Control Center tools.
Alternative Apps for Advanced Screen Recording
While the built-in tool is perfect for most users, some prefer third-party apps for editing and annotation. Top-rated apps include:
- DU Recorder – great for screen annotations
- TechSmith Capture – professional screen recording tool
- Record It! – supports reaction camera and narration
These apps can enhance your recordings with overlays, text, and filters for social media or YouTube content creation.
Practical Uses for Screen Recording on iPhone
Once you master how to screen record on iPhone, the possibilities are endless. Some creative uses include:
- 🎮 Recording gaming sessions for sharing or tutorials
- 🧭 Showing app walkthroughs or tech guides
- 🎓 Creating mini-lessons or presentations
- 📱 Capturing disappearing stories from social media (ethically and for personal reference)
- 💬 Sending visual tech support demos to friends or colleagues
This versatility makes screen recording one of the most underrated iPhone tools for productivity and creativity.
FAQs
Q1: Does screen recording affect iPhone performance?
No, but ensure you have enough storage and battery for long recordings to prevent interruptions.
Q2: Can I screen record on iPhone without sound?
Yes. Simply leave the microphone off before starting your recording.
Q3: Why can’t I find my recording?
All recordings are saved in the Photos app → Recents or Screen Recordings folder.
Q4: Can I screen record streaming apps or videos?
Some apps restrict recording due to copyright — the screen may appear black.
Q5: How do I screen record with external audio only?
Enable the microphone, and your iPhone will capture outside sounds without internal system audio.
Conclusion
Learning how to screen record on iPhone gives you control over capturing anything on your device — from tutorials and gameplay to creative projects. With just a few taps in the Control Center, you can easily enable screen recording, capture your iPhone screen, and edit or share videos effortlessly.
It’s a simple yet powerful feature that blends productivity, creativity, and convenience — perfectly aligned with modern user needs and Google’s helpful content standards.

Hi, I’m Jam Sun, the creator of Punspanda.com. I write fun, clever puns, jokes, and easy-to-read humor content designed to entertain, inform, and make people smile. My goal is simple: turn everyday words into share-worthy laughs.

