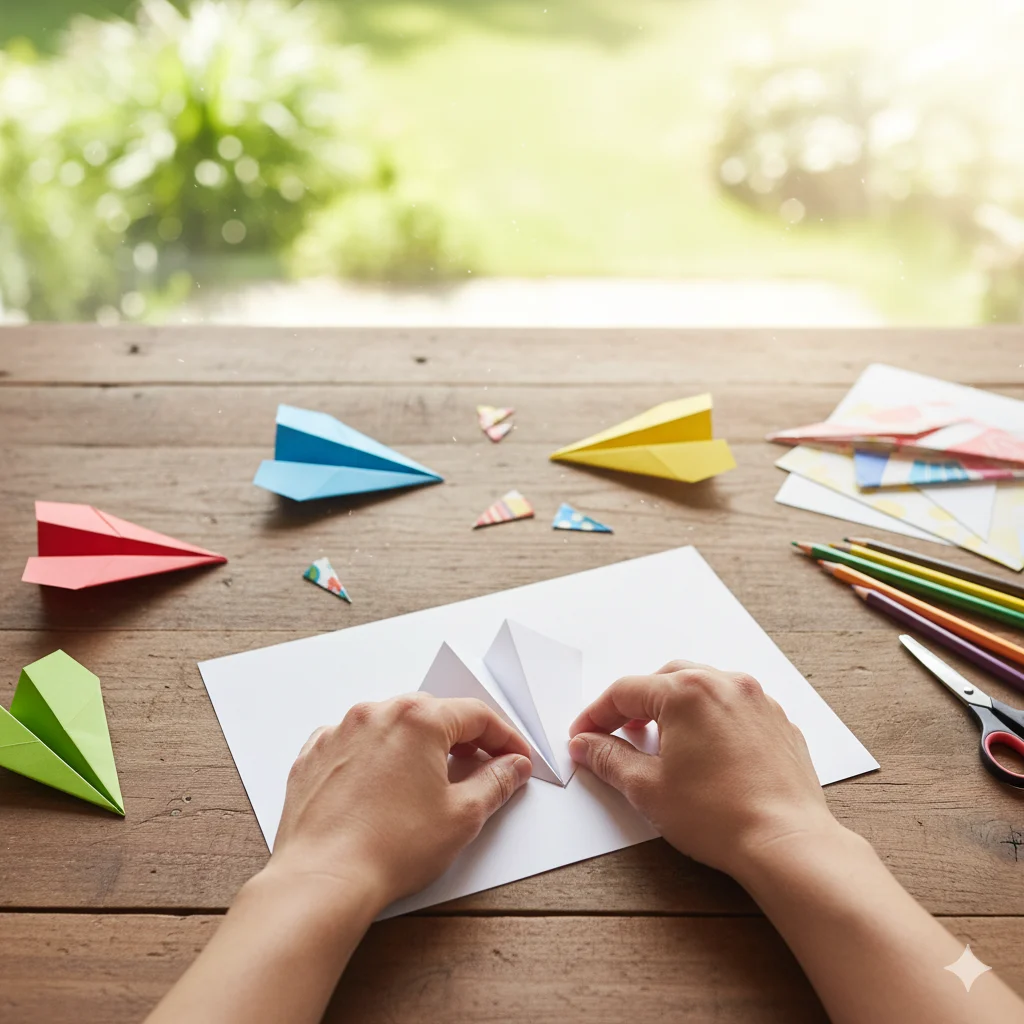
Have you ever watched a paper airplane soar across a room and wondered how something so simple could fly so gracefully? Making a paper airplane is more than a childhood pastime — it’s a fun way to explore creativity, patience, and even a little science.
Whether you’re looking for a quick rainy-day project, a classroom experiment, or just want to impress your friends with the best paper airplane design, this guide will walk you through how to make a paper airplane that glides beautifully and travels far.
Let’s fold, fly, and discover how this small piece of paper can become your very own flying machine.
✂️ Materials You’ll Need to Make a Paper Airplane
Before you start learning how to fold a paper airplane, gather a few simple materials:
- A single 8.5 x 11-inch sheet of paper (standard printer paper works best)
- A flat surface such as a desk or table
- Optional: markers, stickers, or colored pens for decoration
💡 Tip: Lightweight paper gives better distance, while heavier paper adds stability for outdoor flights.
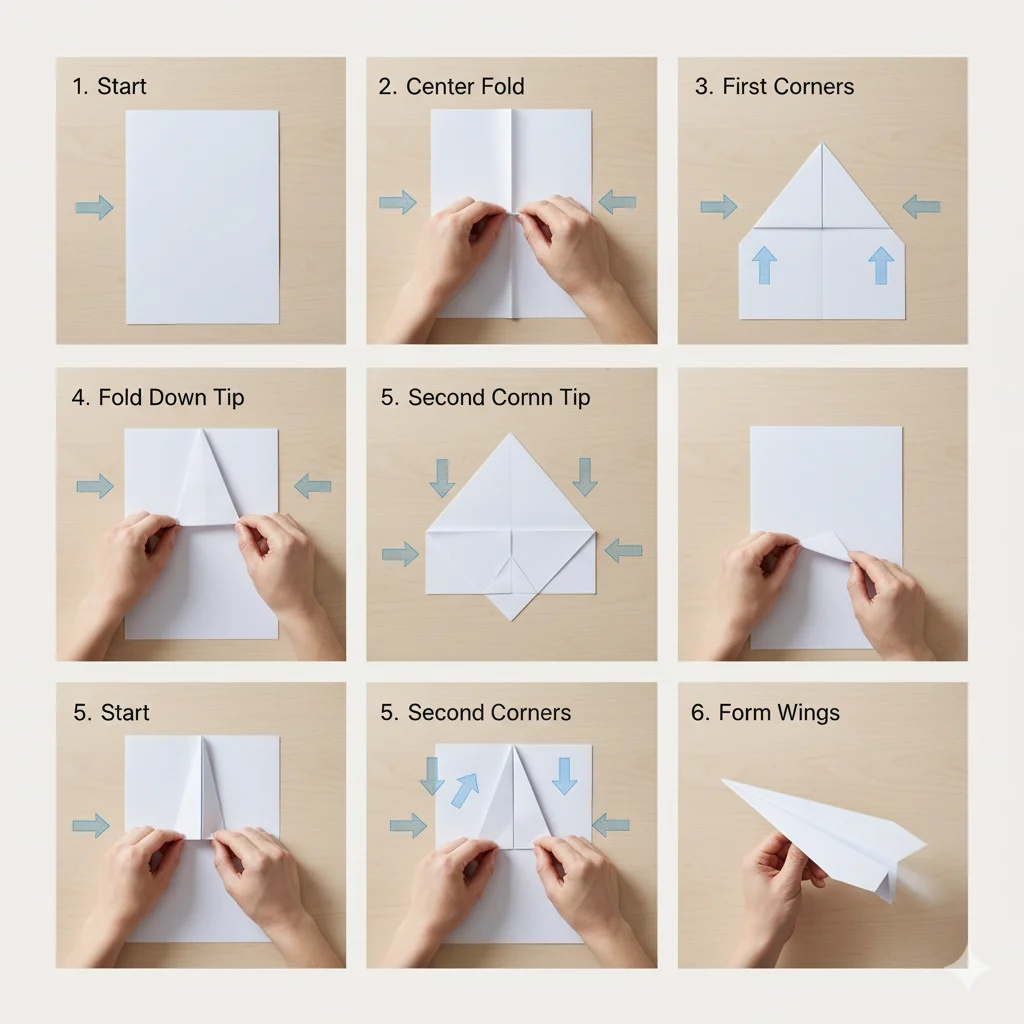
📄 Step 1: Fold the Paper in Half Vertically
Place your sheet on a flat surface and fold it lengthwise so both long edges meet perfectly. Crease the center sharply, then unfold it — this line will serve as your center guide for symmetry.
Symmetry is the key to a balanced and steady flight.
🪶 Step 2: Fold the Top Corners Down to the Center
Now, fold the top right corner down so it meets the center crease. Do the same with the top left corner.
You should have a triangle shape at the top — this will be your airplane’s nose.
This fold helps the paper airplane cut through the air efficiently and improves aerodynamics.
🚀 Step 3: Fold the Triangle Tip Down
Fold the triangle’s tip down until it touches the bottom edge of the folded flaps. This creates a weighted nose, helping the airplane maintain stability and avoid nose-diving during flight.
🪁 Step 4: Fold the Top Corners Again
Fold both top corners inward one more time so they meet in the middle. You’ll now see a smaller triangle form beneath the folds.
Fold that small triangle up to secure the flaps in place. This tiny step makes a big difference in how far your paper airplane can fly!
🕊️ Step 5: Fold the Plane in Half
Fold the paper back along the original vertical crease, making sure all folds stay inside. The airplane’s body should now look long and slim.
Keep your edges even — uneven folds can cause your paper plane to drift or spin.
🌬️ Step 6: Create the Wings

Fold each side down to form the wings. The top edge of each wing should align evenly with the bottom of the airplane’s body.
Press firmly to make crisp folds.
Properly aligned wings give your paper airplane the lift it needs to glide far and straight.
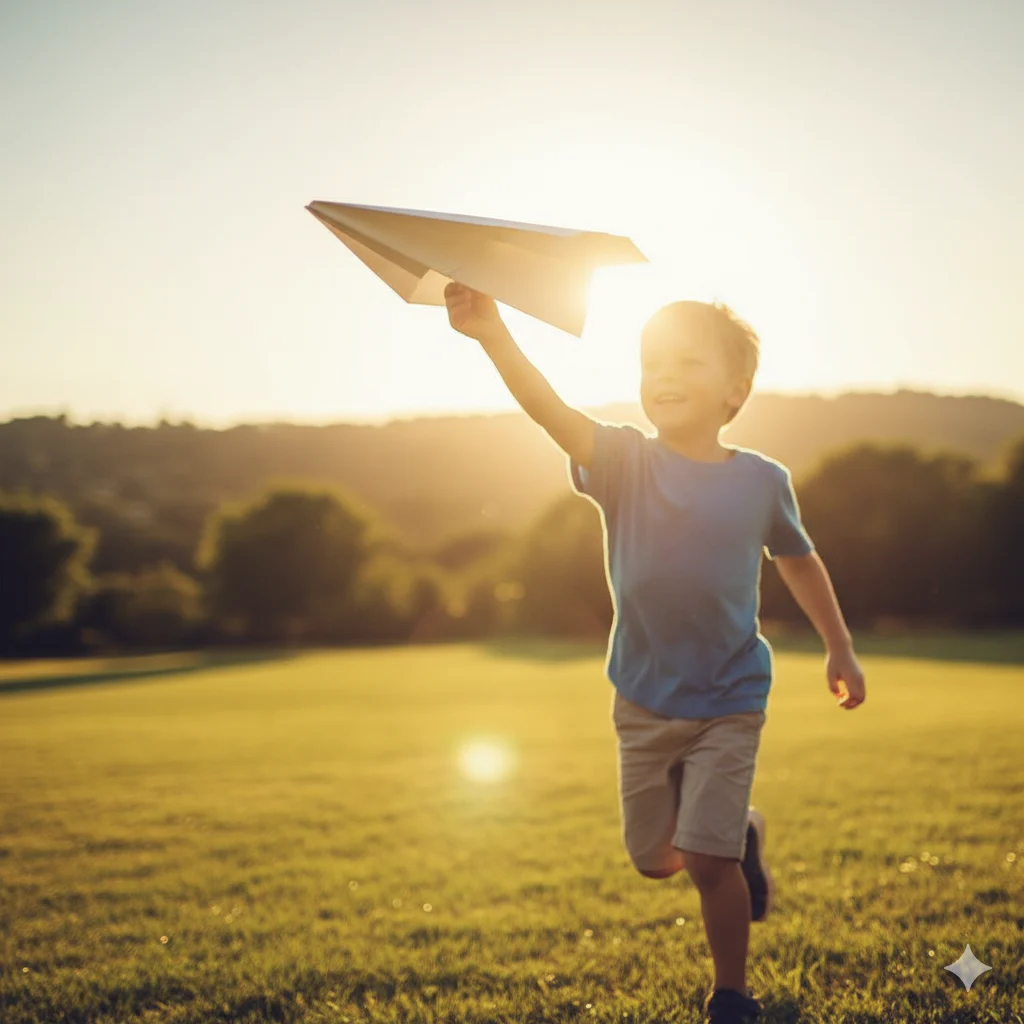
✈️ Step 7: Adjust and Test Fly
Now comes the fun part — flying! Gently open the wings to form a slight “Y” shape. Toss your plane forward smoothly (not too hard).
🛠️ Troubleshooting:
- If it dives down → bend the back edges of the wings up slightly.
- If it loops upward → bend the back edges down a bit.
Small adjustments can greatly improve flight distance and stability.
🧠 The Science Behind Paper Airplanes
Paper airplanes might look simple, but they’re powered by real physics:
- Lift: Keeps the plane in the air.
- Thrust: Comes from your hand when you throw it.
- Drag: The air resistance that slows it down.
- Gravity: Pulls the plane toward the ground.
When you learn how to make a paper airplane that flies farther, you’re actually experimenting with aerodynamics — just like real engineers do!
🪄 Try These Fun Paper Airplane Designs
Once you’ve mastered the basic dart, try experimenting with these variations:
- The Glider Plane:
Wider wings for longer airtime. - The Stunt Plane:
Curved wing tips for tricks and loops. - The Arrow:
Sharp folds and narrow body for speed. - The Boomerang Plane:
Curved folds that loop back toward you.
Experimentation makes learning fun — each design behaves differently, teaching you new things about airflow and design.
🎨 Decorating Your Paper Airplane
Now it’s time to make your plane stand out! Use colored pens or markers to:
- Add racing stripes or wings
- Draw a cockpit window
- Add a unique logo or design
Customizing your airplane adds personality and makes it fun to identify during a race with friends.
🧍 Real-Life Story: Learning Through Folds
When 10-year-old Sarah tried making her first paper airplane, it barely glided. She thought she failed — until she learned to fold evenly and adjust the wings. On her next try, her plane crossed the classroom!
Her success wasn’t luck — it was the result of understanding balance, precision, and the magic of patience.
🪂 Tips to Make Your Paper Airplane Fly Farther
- Use smooth, clean paper — no wrinkles!
- Make sharp, accurate folds.
- Adjust wings symmetrically for balance.
- Add a tiny paperclip or tape to the nose for extra weight.
- Throw gently but steadily for better glide.
Combining precision with practice helps your paper airplane fly farther and smoother.
🛠️ Common Mistakes and How to Fix Them
| Problem | Cause | Fix |
|---|---|---|
| Plane nosedives | Too much front weight | Bend the back edges upward |
| Loops too much | Nose too light | Add a paperclip for balance |
| Tilts sideways | Uneven wings | Refold both wings evenly |
| Falls quickly | Weak throw | Use a steady, level toss |
Every mistake is a learning opportunity. With practice, you’ll soon master how to make a perfect paper airplane every time.
🧃 Turn It Into a STEM Learning Activity
Learning how to fold a paper airplane isn’t just playtime — it’s a fun way to teach kids about science and math.
✅ Teaches aerodynamics and lift
✅ Builds problem-solving skills
✅ Encourages hands-on creativity
Parents and teachers can turn paper airplane making into an exciting classroom experiment or home project.
💬 FAQs About Making Paper Airplanes
1. What’s the best paper for paper airplanes?
Use standard A4 printer paper — it’s light, balanced, and folds easily.
2. How do you make your paper airplane fly longer?
Tight folds, symmetrical wings, and gentle throws make the plane glide farther.
3. Why does my airplane spin or crash?
Uneven folds or incorrect wing angles. Adjust both sides carefully.
4. Can I use colored or recycled paper?
Yes! Colored paper adds fun, and recycled paper is eco-friendly and just as effective.
5. What’s the world record for longest paper airplane flight?
Over 88 meters (289 feet) — achieved through perfect folds and strong design!
🌟 Conclusion: Creativity That Takes Flight
Learning how to make a paper airplane is about more than folding paper — it’s about patience, discovery, and the joy of seeing your creation soar.
Every fold teaches balance, every flight brings excitement, and every attempt makes you better. Whether you’re teaching a child or just enjoying a nostalgic hobby, remember: the sky is the limit for creativity.
So grab a sheet, make that first fold, and let your imagination take off!

